Showing posts with label Scarf/Scarves. Show all posts
Wednesday, January 1, 2020
For My Sister and Her Husband For Christmas
I am soooooo far behind in getting all my crochet projects for Christmas gifts all posted! And now it's time to wish everyone a VERY HAPPY NEW YEAR!!
Today I am showing you the gifts I made for my sister and brother-in-law. I used the same yarn for both, but in different colours.
FOR MY SISTER
As you can see in the photo below, I made a hat, ear band, mittens & scarf.
The hat pattern I got from 'Love Crochet' by Yarnspirations.
It was an easy pattern and one I would do again.
Below is the twisted ear band or head band, which I did not use a pattern for. I used the Elizabeth stitch which looks a little different when using a #5 yarn versus a #3 or 4.
Here are the mittens. You notice that they are the same as the ones I made for everyone else. A simple pattern that I now know off by heart! These too are from 'Love Crochet' by Yarnspirations.
I believe this is the first time I crocheted a scarf the length, instead of the traditional width. This way you can have a nice vertical pattern down the side edges.
The close ups changed the colour of the yarn.
FOR HER HUSBAND - MY BROTHER-IN-LAW
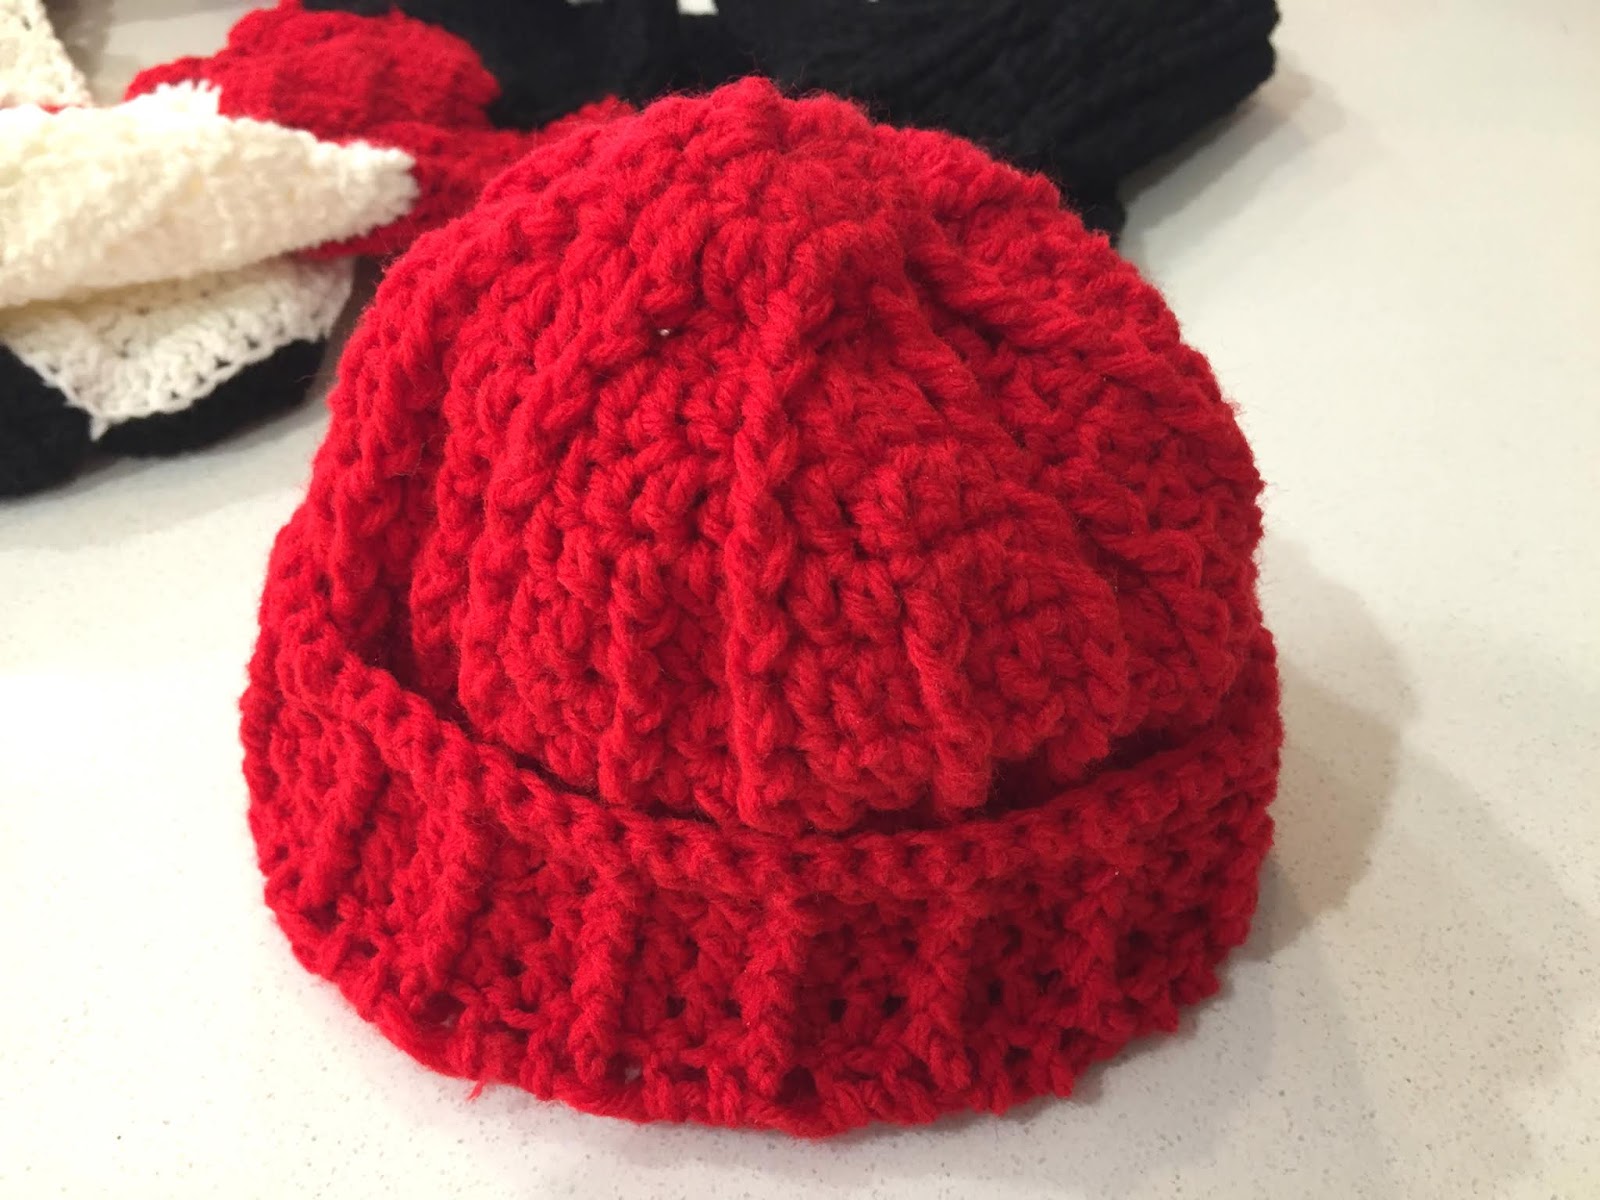
I made the same scarf, and mittens, but there wasn't enough yarn for the ear band as more was used in the making of his toque. The colours of this yarn lends itself better for a masculine set.
This stitch, the Step Stitch, is the first for me and was delighted at how easy it was to create. My brother-in-law, loved this toque and wore it for 2 days after receiving it. He even wore it in the house!
Scarf - same as my sister's...
Well, that's it for this posting. Hope you enjoyed the two sets. I wish I could find more yarn like this. it is so soft and easy to work with.
Happy crocheting!
Labels:
Christmas 2019,
Crochet,
Ear Band,
Hats,
Mittens,
Scarf/Scarves,
Toques
Thursday, November 21, 2019
Infinity Scarf, Touque & Mittens For A Woman
While working on my projects for donation, I was thinking that maybe I should make something more feminine as well. So this is what I came up with.
I had some red, white & black yarn from what I inherited from my mom. I might make this again for myself.
Do you notice how each wavy row seams to sit on top of the previous row? That's because of crocheting in the back loop one row, and then the front loop, the next row, and repeating. It espcially looks great when the row colour changes.
The mittens are from the Daisy Farm Crafts site.
Sorry that you can't see the details very well, but it is hard to photograph black. They look great though! And if you check out the link to the Daisy Farm Crafts site, you can see what the cable pattern on the mittens looks like.
And lastly, the toque.
Once again, I can't remember where I got this pattern from. But if I find it, I will put the link in latter.
Well, this is not a very wordy post like some of my others, but I hope you don't mind not having to read too much. Just mainly sharing the photos this time. Busy day today.
Happy Crocheting!
Labels:
Crochet,
Donate,
Mittens,
Scarf/Scarves,
Toques
Wednesday, November 20, 2019
Basket Weave Scarf, Sherpa Hat & Mittens
But let's begin by looking at the whole set that I made. This beautiful green coloured yarn came from my grandmothers blanket I told you about in previous posts. There were also some unused balls of the same yarn, so that allowed me to make a really nice long scarf, nearly 5 1/2 feet long.
Let's look at the Sherpa hat first.
I love using the Half Double Crochet stitch over the Single Crochet as it fills spaces that the Single Crochet leaves. It looks nicer too, and depending on where you insert your hook, you can give it a different look.
Now, for the scarf.
I did not keep with the Half Double crochet, but opted for the Basket Weave which comprises of a series of Double Crochet Front and Back Posts. I did this because it gives the scarf a nice thickness that I think would be great to have in being outside in the winter for a homeless person. I added the same colours at each end to match the hat.
And here are the mittens, also done in Half Double Crochet with Ribbing at the wrist.
So that's it for this set. This one is hard to give away because I like it so much. But what would I do with it? I don't need it as I have my own that match my coats.
Thank you for joining me today and sharing in my enjoyment of crocheting.
Tuesday, November 19, 2019
Scarf & Toque Set Plus More
Welcome!
Today I am sharing with you a scarf & toque set (hat or beanie for the US). This is one of those that will be donated for the needy in the area here.
However, this scarf is inspired by a Daisy Farm Crafts pattern and made just a tiny bit wider, and the rows are width ways, rather than the length of the scarf. The toque (or hat) is my own creation using the same stitch pattern.
The day I took these photos it was cloudy and I could not get the right lighting for these photos. The colour of the yarn is a burnt orange, not red. It is a yarn that my sister gave to me and informed me that it was form our grandmother. She passed away in 2006 at 92. Anyway, she had this project she was working on and had never completed. So there was the incomplete afghan, and several balls of yarn that went with it. I unraveled all of the afghan and ended up with four colours of yarn with enough to make more than one scarf an toque from each colour! The light green and yellow colours you have already seen in some of the baby blankets I made - the first one, I did not get photos of, but the second one, and last one have been posted.
The stitches used for this set are the HD Herringbone stitch, and the Berry stitch. What I like about this combination is that it looks the same on both sides because the Berry stitch is done in two rows, so that each side gets a row of Berry stitches.
Here is the set.
Now let's talk toque (hat). You will not that it was not crocheted in the round, but as a flat piece. The reason I did that is so that I could use my preferred ribbing. You will also see that I have ribbing at the bottom, which is traditional, but that I also have a narrow band of ribbing at the top. That is to help gather the top without as much bulk if the crochet stitch pattern were just continued to the end.
Closer look at the narrow top band of ribbing.
Closer look at the bottom band of ribbing.
The ribbing is created using a SC in the back loop. (You can do this with a slip stitch, a SC, a HDC, or DC). Then you sew up the side seam, and then gather the top together.
This one is a slouch toque, so it hangs down a bit at the back when wearing it.
On to the scarf.
I made this just a bit wider so that a person could wrap it around their head with good coverage, should the need arise.
It can be folded in half lengthways to wrap around the neck as you see below.
You can see the rows of Half Double Herringbone and Puff stitches.
And lastly, the mittens. These are not a Daisy Farm Crafts pattern, but one I picked up from somewhere online, and can't find again to share with you. Sorry. They are vary easy to whip up and the pattern has all sizes from infants up to large adult hands.
The ribbing is SC in the back loop, and the body of the mitten is in Half Double crochet.
After completing this set I still had a fait bit of this colour of yarn left. I know there wouldn't be enough to crochet a scarf, but I could probably get a toque and mittens from it. I was right! Here they are.
I think why I like creating things to donate it that I can try out all these different stitches or stitch combinations. Like this toque for instance. The first time I tried the Wheat Stitch, and it is so much easier than I thought it would be to do it!
I think I will try this pattern again!
Well, that's it if this batch of yarn, and I hope you have been inspire to try out some new stitches, and to make some things for those in need in your area.
Happy crocheting!
Today I am sharing with you a scarf & toque set (hat or beanie for the US). This is one of those that will be donated for the needy in the area here.
However, this scarf is inspired by a Daisy Farm Crafts pattern and made just a tiny bit wider, and the rows are width ways, rather than the length of the scarf. The toque (or hat) is my own creation using the same stitch pattern.
The day I took these photos it was cloudy and I could not get the right lighting for these photos. The colour of the yarn is a burnt orange, not red. It is a yarn that my sister gave to me and informed me that it was form our grandmother. She passed away in 2006 at 92. Anyway, she had this project she was working on and had never completed. So there was the incomplete afghan, and several balls of yarn that went with it. I unraveled all of the afghan and ended up with four colours of yarn with enough to make more than one scarf an toque from each colour! The light green and yellow colours you have already seen in some of the baby blankets I made - the first one, I did not get photos of, but the second one, and last one have been posted.
The stitches used for this set are the HD Herringbone stitch, and the Berry stitch. What I like about this combination is that it looks the same on both sides because the Berry stitch is done in two rows, so that each side gets a row of Berry stitches.
Here is the set.
Now let's talk toque (hat). You will not that it was not crocheted in the round, but as a flat piece. The reason I did that is so that I could use my preferred ribbing. You will also see that I have ribbing at the bottom, which is traditional, but that I also have a narrow band of ribbing at the top. That is to help gather the top without as much bulk if the crochet stitch pattern were just continued to the end.
Closer look at the narrow top band of ribbing.
Closer look at the bottom band of ribbing.
The ribbing is created using a SC in the back loop. (You can do this with a slip stitch, a SC, a HDC, or DC). Then you sew up the side seam, and then gather the top together.
This one is a slouch toque, so it hangs down a bit at the back when wearing it.
On to the scarf.
I made this just a bit wider so that a person could wrap it around their head with good coverage, should the need arise.
It can be folded in half lengthways to wrap around the neck as you see below.
You can see the rows of Half Double Herringbone and Puff stitches.
And lastly, the mittens. These are not a Daisy Farm Crafts pattern, but one I picked up from somewhere online, and can't find again to share with you. Sorry. They are vary easy to whip up and the pattern has all sizes from infants up to large adult hands.
The ribbing is SC in the back loop, and the body of the mitten is in Half Double crochet.
After completing this set I still had a fait bit of this colour of yarn left. I know there wouldn't be enough to crochet a scarf, but I could probably get a toque and mittens from it. I was right! Here they are.
I think why I like creating things to donate it that I can try out all these different stitches or stitch combinations. Like this toque for instance. The first time I tried the Wheat Stitch, and it is so much easier than I thought it would be to do it!
I think I will try this pattern again!
Well, that's it if this batch of yarn, and I hope you have been inspire to try out some new stitches, and to make some things for those in need in your area.
Happy crocheting!
Subscribe to:
Posts (Atom)